How to Make Homemade Baby Food for Your Infant
1 June 2025
As parents, we all want to give our babies the best start in life. One way to do that? Making homemade baby food. Not only do you get to control exactly what goes into your little one's meals, but it's also more affordable, fresher, and often more nutritious than store-bought options. Plus, there's something deeply satisfying about knowing you're personally preparing healthy, wholesome food for your baby.
But if you're new to the world of homemade baby food, it might seem a little intimidating at first. Don’t worry—I’ve got you covered! This guide will walk you through everything you need to know, from why homemade baby food is a great choice to step-by-step instructions for making and storing it. 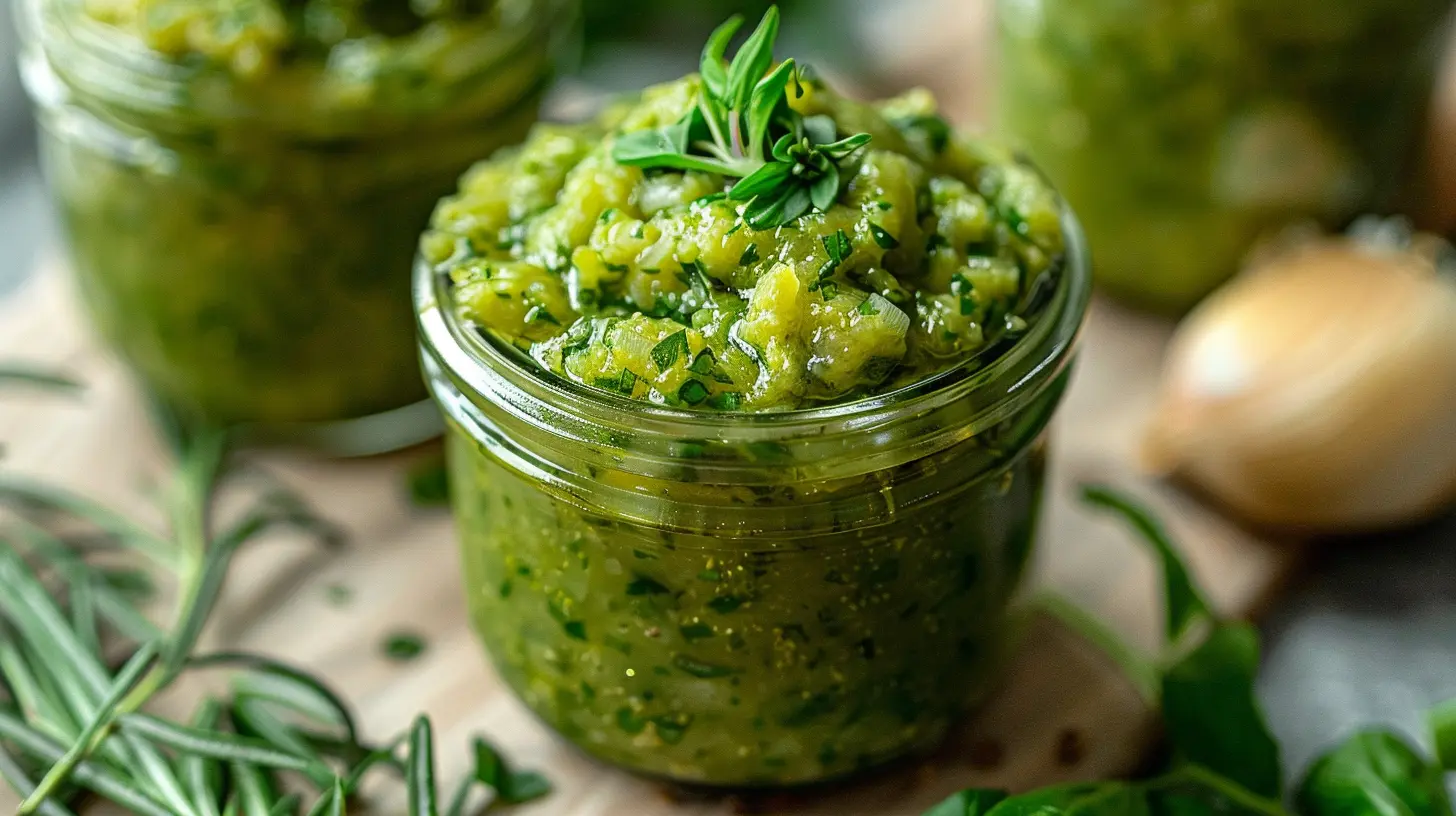
Why Choose Homemade Baby Food?
Before we dive into the "how," let's talk about the "why." There are plenty of great reasons to make your baby's food at home.1. You Control the Ingredients
When you make your own baby food, you know exactly what’s going into it. No hidden preservatives, no unnecessary sugar or salt—just fresh, natural ingredients that you pick yourself.2. It’s More Nutritious
Store-bought baby food is processed to have a long shelf life, which can strip away some essential nutrients. When you make food at home, it retains more of the vitamins and minerals your baby needs to grow strong and healthy.3. It Saves Money
Let’s be real—baby food can be expensive. Making it at home often costs a fraction of what you'd spend on pre-packaged options. A single sweet potato, for example, can make multiple servings for just a few cents per meal.4. Better Taste and Texture
Homemade baby food tastes fresher and more like real food. By blending foods to different textures, you can help your baby transition smoothly to solid foods while developing their taste preferences.5. It’s Eco-Friendly
Making your own food means less packaging waste—no more tossing out dozens of tiny plastic jars. A win for you and the planet!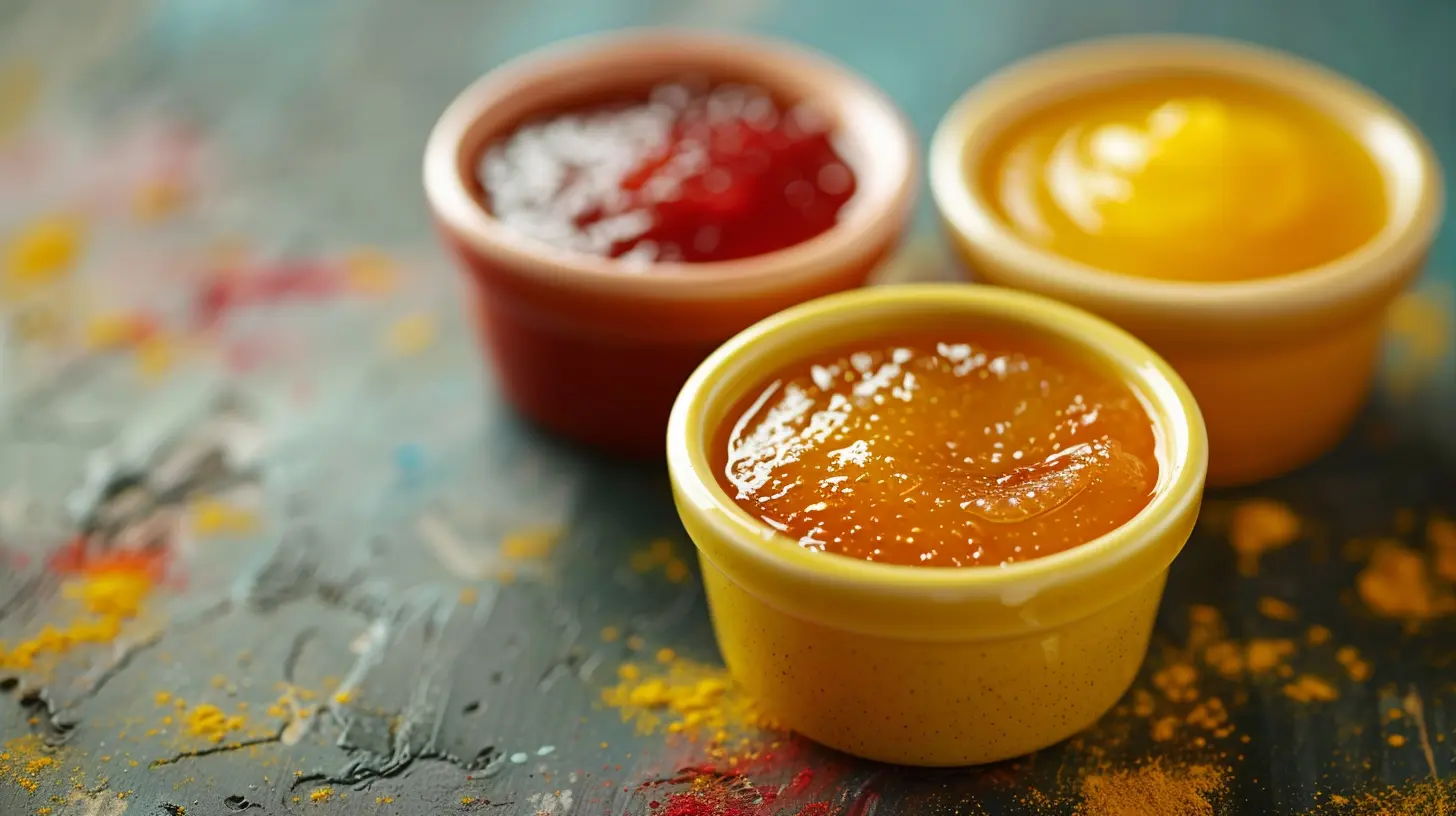
When to Start Feeding Your Baby Solid Foods
The American Academy of Pediatrics recommends introducing solid foods around six months of age. However, every baby is different. Look for these signs that your little one is ready:- Good head control – They can sit up and hold their head steady.
- Interest in food – They watch you eat or reach for food.
- Loss of the tongue-thrust reflex – They no longer push food out of their mouth automatically.
- Ability to swallow – They can move food from the spoon to the back of their mouth without spitting it out.
If you're unsure, ask your pediatrician before starting solids. 
Essential Tools for Making Homemade Baby Food
The good news? You don’t need fancy equipment. Here are some basic tools to get started:- Blender or Food Processor – To puree foods into smooth textures.
- Steamer Basket or Pot – Steaming preserves more nutrients than boiling.
- Fork or Potato Masher – Perfect for mashing soft foods like bananas and avocados.
- Freezer Trays or Small Containers – For storing prepared baby food.
- Spoons and Bowls – Soft-tipped baby spoons make feeding easier.
That’s it! Simple and budget-friendly. 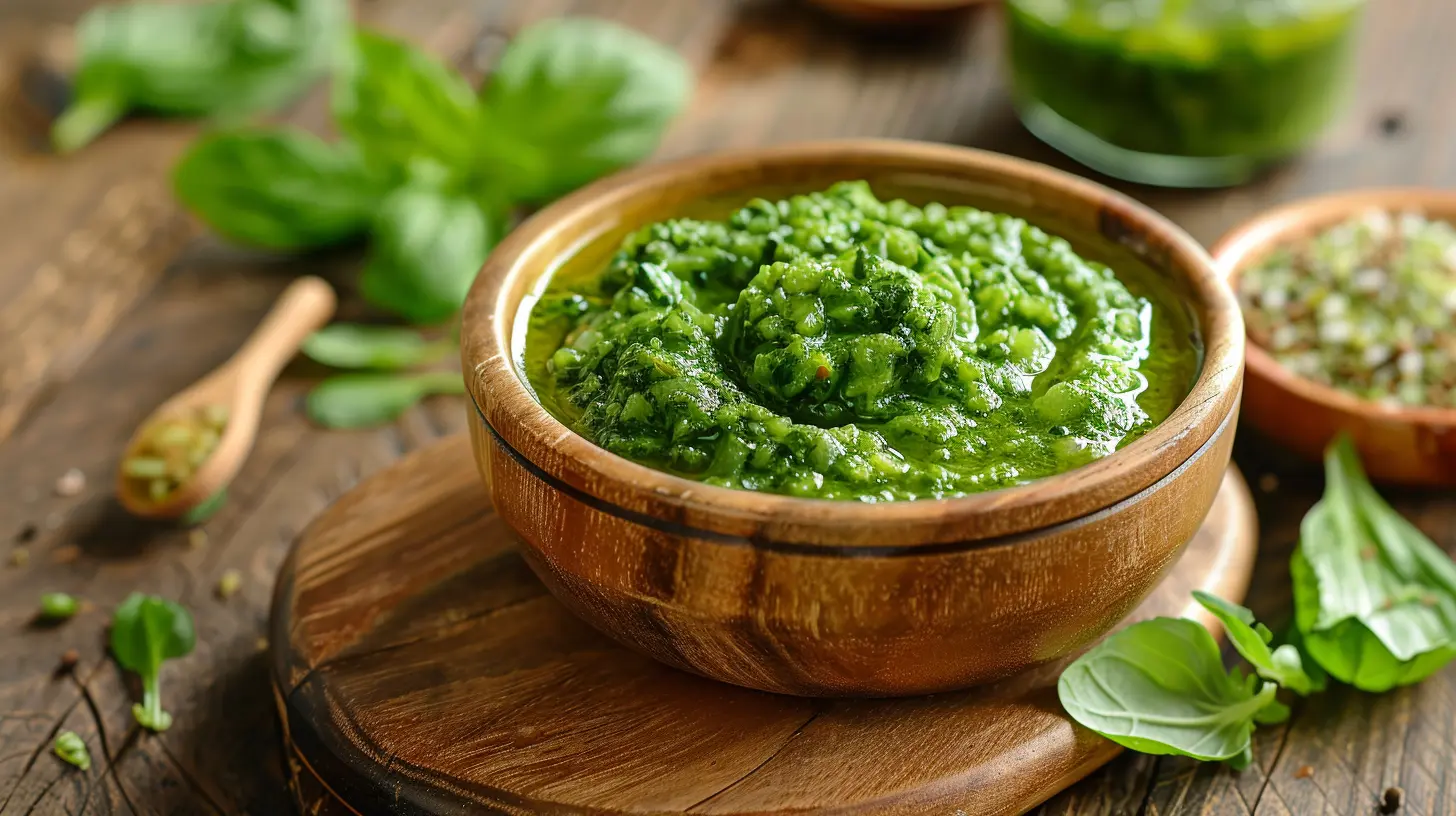
Step-by-Step Guide to Making Homemade Baby Food
Now, let's get cooking!Step 1: Choose Fresh Ingredients
Go for fresh, organic produce when possible. Some great first foods include:- Fruits: Bananas, apples, pears, peaches, mangos
- Vegetables: Sweet potatoes, carrots, squash, peas
- Proteins: Chicken, turkey, beans, lentils
- Grains: Oats, quinoa, brown rice
Step 2: Wash and Prepare the Food
Always wash fruits and veggies thoroughly to remove dirt and pesticides. Peel and chop them into small pieces for easier cooking.Step 3: Cook the Food Until Soft
For most fruits and veggies, steaming or baking is the best option. This keeps the nutrients intact while making them easy to blend. Meats should be cooked thoroughly until tender.Step 4: Blend or Mash to the Right Consistency
For younger babies, puree foods until they're smooth. As your little one gets older, you can leave some small lumps to encourage chewing. You might need to add a little water, breast milk, or formula to reach the right texture.Step 5: Store for Later Use
Homemade baby food can be stored in the fridge for up to 3 days or in the freezer for up to 3 months. Use small portions to make thawing and feeding easy. Ice cube trays or silicone baby food storage trays work great for this!Tips for Introducing New Foods
Introducing solids isn’t just about feeding—it’s about helping your baby explore new tastes and textures. Here’s how to make it a smooth experience:1. Introduce One Food at a Time – Wait 3-5 days between new foods to check for allergies.
2. Start with Mild Flavors – Babies often prefer naturally sweet foods like sweet potatoes and bananas.
3. Watch for Allergic Reactions – Signs include rashes, vomiting, diarrhea, or difficulty breathing. If you notice any, stop immediately and contact your doctor.
4. Make Mealtime Fun – Keep it stress-free! If your baby refuses a food, try it again later—sometimes, it takes several tries before they accept it.
5. Offer a Variety of Foods – This helps develop a diverse palate and prevents picky eating later on.
Best First Homemade Baby Foods (Simple Recipes)
Looking for some inspiration? Here are a few easy starter recipes.1. Simple Sweet Potato Puree
- Peel and chop 1 sweet potato.- Steam until soft.
- Blend with a little water, breast milk, or formula until smooth.
2. Easy Banana Mash
- Mash 1 ripe banana with a fork.- Add a splash of breast milk or formula for a smoother texture.
3. Creamy Avocado Puree
- Scoop out half an avocado.- Mash with a fork or blend with a little breast milk until creamy.
4. Apple and Carrot Puree
- Peel and chop 1 apple and 1 carrot.- Steam until soft.
- Blend with a little water for a smooth texture.
Common Mistakes to Avoid
Even with the best intentions, mistakes happen. Here are some things to watch out for:- Skipping Allergy Checks – Always introduce foods one at a time.
- Not Cooking Certain Foods Enough – Hard foods like carrots should be steamed until soft.
- Adding Salt or Sugar – Babies don’t need added seasoning. Their taste buds are sensitive!
- Using Too Much Liquid – This can make purees too runny. Add gradually.
- Rushing the Process – Some babies take longer to accept solids, and that’s okay!
Final Thoughts
Making homemade baby food might seem like a lot of work at first, but trust me—it’s totally worth it. Not only do you give your baby the best nutrition possible, but you also create a healthy eating foundation that lasts a lifetime.Start simple, have fun with it, and enjoy watching your little one discover the joy of real, wholesome food.
So, what’s the first homemade baby food you’re excited to try? Let me know in the comments!
all images in this post were generated using AI tools
Category:
Healthy MealsAuthor:

Kelly Snow
Discussion
rate this article
2 comments
Julianne Lewis
Creating homemade baby food is a wonderful way to nourish your little one with love!
June 7, 2025 at 4:53 AM
Kelly Snow
Thank you! Making homemade baby food truly allows for personalized nutrition and care.
Sybil Hill
Nutrition matters; simplicity enhances your baby's palate.
June 5, 2025 at 4:50 AM
Kelly Snow
Thank you! Simple, nutritious recipes help establish healthy eating habits early on.